
A quarter of your home’s heat escapes through an uninsulated roof — it’s the single biggest hole in most British houses’ thermal envelope. The fix is also the cheapest major energy improvement you can buy, with paybacks measured in a couple of years. Here’s how to insulate a loft in the UK properly: what to buy, how to lay it, and the mistakes that turn a simple job into a damp disaster.
The target is 270mm of mineral wool insulation (or equivalent performance in other materials) — that’s the current recommended depth for lofts in the UK, and the figure every grant scheme and EPC assessment works to. Many older homes have 100mm or nothing at all, so there’s usually big scope for improvement.
How to Insulate a Loft in the UK: Choosing Your Material
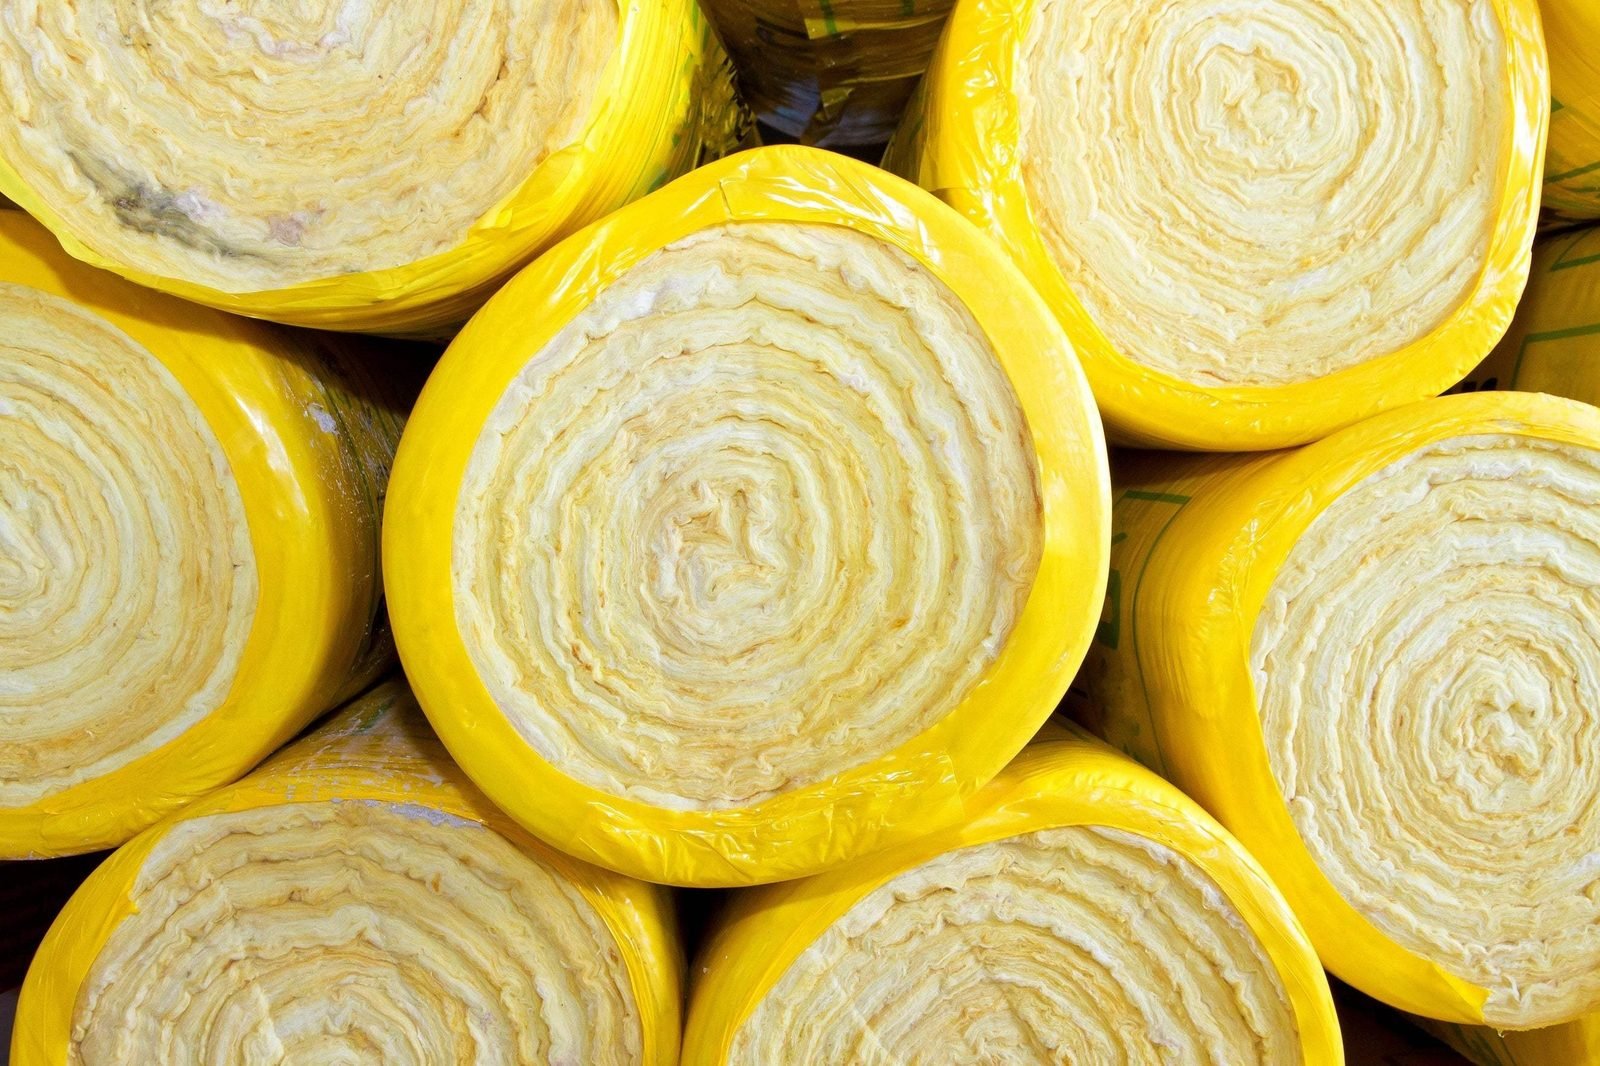
Mineral wool rolls (glass or rock wool) — the standard
Cheap (£5–£8 per m² for 200mm top-up rolls), effective, DIY-friendly and available everywhere. Glass wool is lighter and less itchy than the old yellow stuff; rock wool is denser and better for sound. For most lofts, two layers of 100–135mm rolls — one between the joists, one cross-laid over the top — hits the 270mm target. This is what 90% of UK loft insulation looks like, and there’s nothing wrong with that.
Rigid PIR boards — where depth is limited
Boards like Celotex or Kingspan deliver the same insulation in roughly half the thickness — useful where headroom matters or you’re insulating a loft room. More expensive (£15–£25 per m²) and fussier to fit (every gap must be sealed with foil tape), but the performance per millimetre is unmatched.
Loose-fill and natural options
Blown cellulose or loose-fill mineral wool suits awkward lofts with lots of obstructions — usually a professional job. Sheep’s wool and wood-fibre batts appeal for breathability in older buildings and handle moisture well, at roughly double the cost of mineral wool. For most homes, mineral wool remains the rational choice.
DIY Installation: Step by Step
- Clear the loft and lay crawling boards across the joists — never stand on the ceiling plasterboard between joists. You’ll go through the ceiling, and it’s as unpleasant as it sounds.
- Suit up: dust mask (FFP3), goggles, gloves, long sleeves. Mineral wool fibres are an irritant, not a toxin, but you’ll be miserable without protection. Ventilate the loft while you work.
- Lay the first layer between joists, friction-fitting rolls snugly with no gaps — gaps leak heat disproportionately. Cut around pipes and cables; don’t compress insulation over downlights unless they’re fire-rated covers (compressed insulation loses performance and overheating downlights are a fire risk).
- Cross-lay the second layer at right angles over the joists to the full 270mm depth. This eliminates the thermal bridging through the timber joists themselves.
- Insulate the loft hatch (a slab of insulation glued to its back) and fit draught seals around it — an uninsulated hatch is a glaring hole in your new blanket.
- Don’t block the eaves ventilation. Leave a 50mm air gap at the eaves so roof timbers can breathe; blocking it causes condensation and rot. Use eaves vent trays if needed.
- Lag pipes and the cold-water tank while you’re up there — a colder loft (which is what insulation creates below it) means a greater freezing risk for pipes above the insulation. This step is essential, not optional.
What It Costs — and the Grants Available
DIY: £300–£600 in materials for a typical 3-bed semi, plus a weekend. Professional installation: £400–£800. Either way, the Energy Saving Trust estimates annual savings around £200–£300 for a detached house upgrading from nothing — a payback of two to three years, then pure saving.
Before paying, check the Great British Insulation Scheme and ECO4 — both can fund loft insulation for eligible households, and some energy suppliers offer subsidised or free top-ups. Check gov.uk’s energy efficiency pages for what’s currently available; schemes change, but loft insulation is perennially supported because it’s so cost-effective. The Energy Saving Trust’s loft insulation guide has the full technical detail.
Lofts You Want to Use for Storage
The classic conflict: insulation vs storage. Compressing 270mm of wool under loft boards destroys its performance — so don’t. Instead, use raised loft boarding systems (stilts that lift boards above the insulation, £100–£200 for the fittings) over a section of the loft, keeping full-depth insulation beneath. Board only what you need; every boarded square metre without proper depth underneath is a cold spot. And never board over the eaves ventilation gap.
Mistakes That Cause Damp
Insulation makes the loft colder — that’s its job — which means moisture management becomes critical. The big errors: blocking eaves ventilation, pushing insulation tight against the roofing felt (leave the air gap), and ignoring bathroom extractor ducts venting into the loft (they must vent through the roof or wall to outside — venting warm moist air into a cold loft is a mould factory). If you’re also draught-proofing the house, remember the mantra: insulate tightly, ventilate deliberately. Our guide to dealing with damp covers what happens when the balance goes wrong.
Flat Roofs and Tricky Lofts
Not every loft is a simple pitched void. Flat roofs need a different approach — insulation usually goes above the deck (a “warm roof”) during re-roofing, which is a professional job at £1,000–£2,000 for a typical extension. Insulating between flat-roof joists from below (“cold roof”) is possible but demands meticulous ventilation to avoid interstitial condensation — get professional advice before attempting it. Rooms in the roof (loft conversions) need insulation between and under the rafters, typically 100mm PIR between plus 50mm below, with a 50mm ventilation gap to the felt — building regulations specify the U-values, and this work usually needs sign-off. Dormer cheeks and mansard slopes are fiddly but follow the same principles: continuous insulation, no gaps, ventilation maintained. When the loft geometry defeats DIY, a blown-in professional job often costs less than you’d fear.
The Takeaway
270mm of mineral wool, cross-laid, eaves left breathing, pipes lagged, hatch insulated — that’s the whole job, for a few hundred pounds and a weekend. Check grant eligibility first, protect yourself from the fibres, and never stand between the joists. The cheapest big energy saving in British housing, done right.







One thought on “How to Insulate a Loft in the UK”